Just a note that I sold the “Lady” a few years ago, so of course haven’t updated this blog. Instead of taking it down, however, I’m going to leave it up… some might find some of the posts useful, and for my own “nostalgic” reasons. I really do miss the boat.
Finishing Up the Woodwork
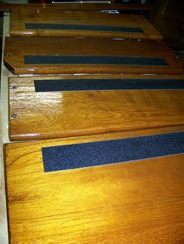
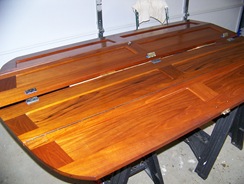
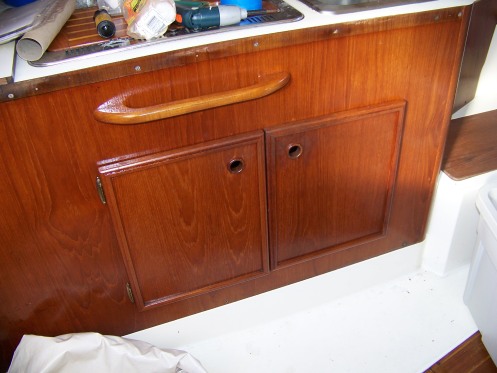
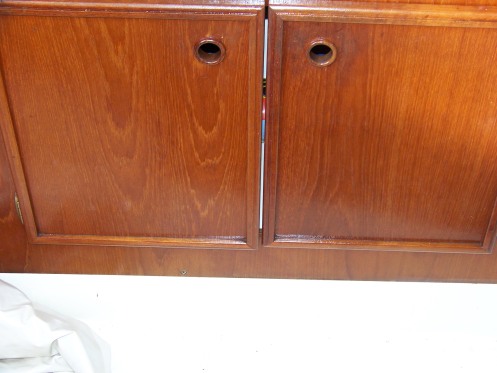
•February 28, 2009 • Leave a CommentLast Tuesday I finished up oiling the interior woodwork, this time it was the aft stateroom and door to the head. I removed the bi-fold doors to the head and the aft stateroom, figuring it would be easier to re-oil them outside. By the time I finished the interior, it was getting late, so the doors and the stair risers went in the car to bring home and do in the garage. The risers got a new coat of varnish and some new non-skid taping, while the doors got two coats of Watco Teak Oil.
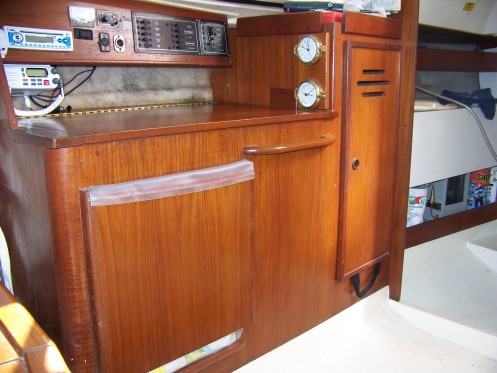
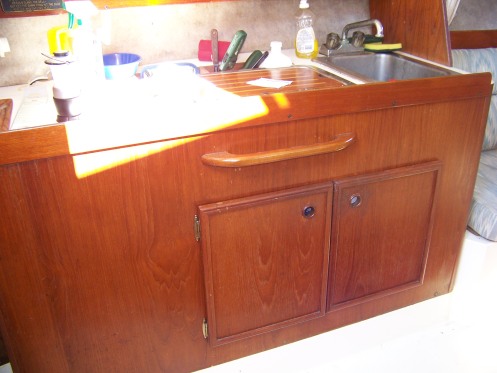
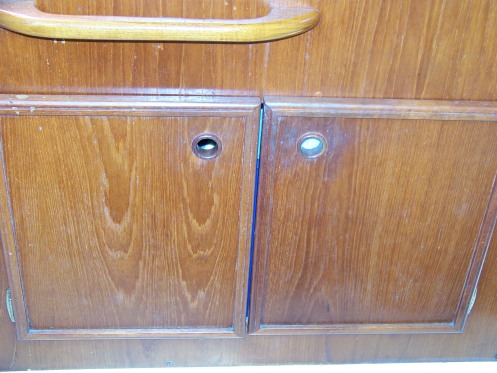
Today I put everything back on the boat – all the interior woodwork is now either varnished or oiled and looks almost brand new.
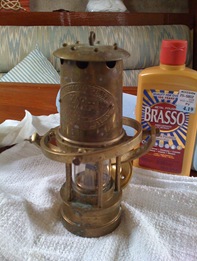
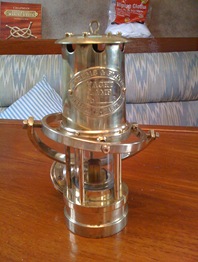
The yacht lamp was looking pretty rough, so I spent an hour or two on the boat with some Brasso and a Dremel cleaning it up:
New Battery
•February 21, 2009 • Leave a Comment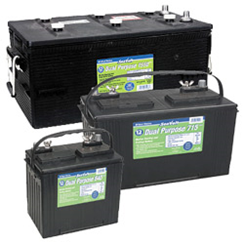 This weekend completes seven weeks since having rotator cuff surgery on my left shoulder, and I finally feel able enough to replace the starter battery in the lazarette. Several weeks ago I purchased a SeaVolt 745 Dual-Purpose battery on sale at West Marine to replace the old one, which was now almost eight years old.
After removing the old battery, I took the opportunity to clean out the lazarette a bit with some soap and water, then dropped in the new one.
Interior Wood Restoration
•February 8, 2009 • 1 CommentWith nearly two years gone by since the boat was purchased, the interior woodwork was beginning to look a bit tired, and some white mildew or mold beginning to appear.
First order of business was to wash all of the wood surfaces down with some Murphy’s Oil Soap. The aft cabin was wiped down, and once dry became a closet for all the other junk on the boat. It didn’t take long to fill it up with cushions, life jackets, and other odds and ends.
After everything in the main cabin was dry, the rails around cabinetry and the doors to the sink cabinet and hanging locker were removed, then all of the fiberglass surfaces and mouse fur – that ugly grey insulation lining the interior of the boat – that could possibly be stained were masked with painter’s tape.
A foam brush was used to spread the Watco Teak Oil. By the time I finished it was time to apply the second recommended coat. Once that was done, all the surfaces were wiped down with cotton rags.
Next trip all the cushion will be put back so the aft cabin can be oiled.
January 2, 2009
•January 3, 2009 • Leave a CommentOver two months now without moving from the slip. Granted, it’s the middle of winter, but it’s been pretty mild so far. Other things have taken up most of my time and I just haven’t been able to spend more than a few minutes checking on things every few days. I thought maybe I could take her out for a short motor this weekend, but it looks like rain is on tap for both days.
It’s been a year since the last haul-out, so she’s due for a wash and new zincs on the shaft. She’s also due for a new bottom job. I haven’t decided whether to drop her off at Northshore Marine, just a few hundred yards away, or save a few hundred by taking her to Slidell and up in to Bayou Bonfouca, where I can do the work myself at Maritime Systems. I’d like to do the latter and take the opportunity to compound and buff out the topsides and do some other work while she’s blocked.
Sunday, November 2.
•November 2, 2008 • 1 CommentSpent a little bit of time on the boat today, just a little housekeeping and changed the zinc in the heat exchanger.
I’ve been keeping shore power off, and noticed that battery #1 (a Dual-Purpose SeaVolt 745) isn’t holding a charge and doesn’t have enough juice to crank the engine. It’s pretty old and a bit overdue for replacement.
Saturday, October 25
•October 25, 2008 • Leave a CommentToday was spent reconnecting the hot water heater back to the engine bypass.
FIrst, I teflon-taped the various fittings and reassembled the plumbing. Then the inlet and outlet hoses were routed out the bottom of the lazarette, into the engine compartment, and directed to the bypass fittings. Easier said than done! Snaking the hoses under, around, and between other components took a bit of effort.
Once everything was hooked up, coolant was added to the tank in the lazarette and the engine fired up. The expansion tank promptly filled almost completely with coolant, as if the entire system was emptied into the tank. I spent a bit of time working air out of the system, but it seemed like the coolant just wasn’t circulating. There was probably still air trapped in the system, but it didn’t really matter because I notice that one of the hose connections was leaking badly – I had only hand-tightened it. The only way to tighten it was to completely remove the hose from the engine compartment (again!), so I just decided to keep the entire circuit offline for awhile longer. I rarely use hot water, and then only on shore power, which still works – just can’t heat water while underway.
Saturday, October 18th
•October 18, 2008 • Leave a CommentToday I thought I’d take the boat out for a quick sail, since the weather was so nice and I haven’t been out since the hurricanes in late August.
First I had to re-secure the headsail onto the roller furling. A friend and I tried to take it down in preparation for Hurricane Gustav, then realized it would be more bother than it was worth, so we just wrapped it tightly with the jib sheets.
I got out to the lake, and was about to raise the headsail when the engine temperature shot up very quickly to about 200 degrees. Jumping down into the cabin, I quickly released the petcock to release any trapped air – the temperature dropped 30 degrees almost instantly, but started to creep back up. By now it was obvious that there was not enough coolant in the system, so after releasing some more pressure I popped off the cap and sure enough, the coolant level was too low. A pint or so did the trick and the temp dropped to 160.
I’ve been having erratic coolant control issues since I took the hot water heater loop off line last year. It looks like I really need to get the system back online.
With all of the drama and some commitments later in the day I decided to forego the sail and head back in… maybe next time!
If Thine Starboard Port Offend Thee, Pluck It Out
•October 5, 2008 • Leave a CommentSunday was a great day for sailing. At least it seemed to be, with the number of boats heading out of the marina. Eighty degrees, and a nice breeze from the north.
I, on the other hand, am several months behind on some maintenance projects due to the recent brushes with Fay, Gustav, and Ike. First and foremost was to replace two broken ports.
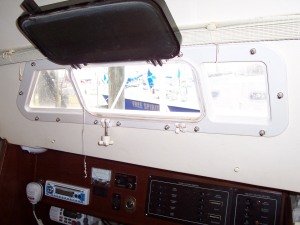
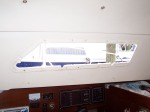
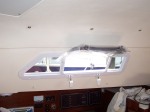
Concerned over whether I’d have enough sealant in one tube to do both ports, I decided to do one at a time. Normally one tube would be plenty, but one of the ports is this large combination port; you can see the broken mount for the dog. Once this breaks or cracks, it’s impossible to close the port. I had the exterior covered with plastic and duct tape to keep water out.
- First I removed the exterior trim ring and as much of the old sealant as possible, exposing the bolt heads:
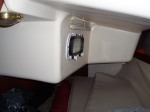
- This is the opening with the port removed, before cleaning up. There is no core material here on the cabin side in the Pearson 27; the headliner is attached directly to the fiberglass. I removed as much sealant as possible with a paint scraper and razor blade, then used a Dremel with a bristle brush to finish cleaning old silicone off the headliner. I used a brass wire brush in the Dremel to clean the sealant off the fiberglass around the edges. I didn’t need to bevel the edges of the opening, as, there was already a good-sized gap all around the spigot to hold sealant.
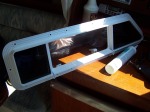
- I dry-fitted the new port, then attached it very loosely with bolts at the four corner locations. This held the port in place while I applied sealant to the outside.
- After the first application of sealant, I tooled it into the rather loose joint, then spread a bit of sealant under the heads of several bolts and installed them, drawing the port tight. The first four bolts were removed, some sealant dabbed on, and reinstalled.
- (No more pictures, sorry! Hands too gooey and I had to move quickly) Moving to the outside, I dry-fitted the trim ring, then rubbed some dish detergent around the ring. This will help when trimming off the excess sealant once it cures.
- About 2/3 of the tube was slobbered on around the spigot, being sure to cover evenly so as not to create an air pocket. I’ve found out the hard way that air gaps may not be visible until you trim away the excess sealant.
- The trim ring was pushed into place until I had about 1/4 inch bead around the ring. It will be allowed to cure completely, the trimmed flush with the ring.
- I still had about 1/3 of the tube left, so tackled the 4×12 port in the cockpit, above the aft berth. This one went pretty quickly:
Hurricane Gustav
•August 29, 2008 • Leave a CommentLess than a week after lashing down the sails and getting ready for TS Fay, I had to go back to Mandeville today to prepare for Hurricane Gustav.
Bleh.
Armed with a quite a bit of advice from the previous owner and six new dock lines from West Marine, I doubled up on all but one of my bow and stern lines, increased the scope, and added spring lines to the starboard side.
The main sail came off easily and was stored below; the genoa was another story, however. A previous owner cut the halyard short, so it was impossible to take the sail off without losing the halyard in the furler’s track. I didn’t want to deal with that when I got back, so I just wrapped the genoa as best as possible with the jib sheets and some extra line.



Recent Comments